Showing posts with label DIY. Show all posts

Monday, January 20, 2014

DIY Greeting Cards for Kids

We live in a fantastic neighborhood. The kind of neighborhood where everyone really does know your name and people look out for your house when you're out of town. I hope to live here forever and a day. 

All of our neighbors welcomed us with kind words and treated our little family as though we had lived here for years. I wanted to extend the kindness we felt to the newest members of our neighborhood. A sweet family with 2 adorable little girls. 

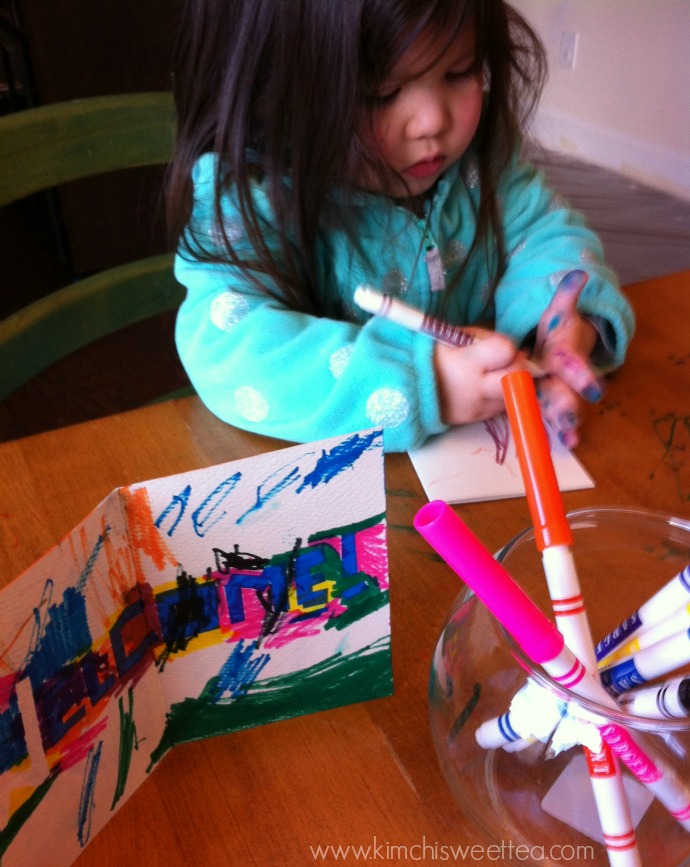
Because kids were moving in and I had a 2 year old to entertain, I decided to let Ellington make her own little welcome cards for our new neighbor friends.
DIY Greeting Cards | Toddler Crafts
This idea has endless possibilities. Simply choose a word or phrase and let your little one color away. By the way, the markers we used came from the Kiwi Crate that Ellington got for Christmas.
DIY Greeting Cards | Toddler Crafts
The only tedious part was cutting out the painter's tape. I just cut small strips of painter's tape and stuck them to a blank greeting card to create the word 'Welcome'. 
DIY Greeting Cards | Toddler Crafts
After Ellington announced that her coloring was complete, We peeled off the tape and were left with a colorful + FREE + personal + homemade 'Welcome to the Neighborhood' card for our new neighbors.
DIY Greeting Cards | Toddler Crafts
Towards the end of our little art project, Winsley woke up from her nap and wanted to join in on the fun. Of course, older sister Ellington couldn't resist "helping" Winsley color the envelopes to go with the cards.
DIY Greeting Cards | Toddler Crafts
If you need to create a quick note or greeting card or just want to waste a little time with your kiddos, this is a wonderful little project. Considering the cold weather headed our way, I'm considering preparing some thank you cards for Ellington and Winsley to color or maybe even DIY Valentines.

Tons of ideas! Now I just have to get everything prepared in case we're stuck inside all day because of the rain + cold weather.

Do you have a go-to craft for rainy days? Or maybe some kid friendly neighbor gifts? I'd love some more suggestions to add to my craft closet.

post signature

Saturday, January 18, 2014

How the Kiwi Crate saved my sanity!

My aunt did one amazing job with Christmas gifts this year. Seriously, her various gifts have been true sanity savers in the short time since Christmas. 
This month has been filled with rainy days and the bone chilling Polar Vortex. In mommyhood terms this means TOO MANY HOURS spent indoors. My bag of tricks is quite large, but even I was on the verge of a meltdown after spending too much time inside. That's when the Kiwi Crate from my Aunt Shelia that had been hidden away for a rainy day made it's appearance.
So thankful. Ellignton had the best time decorating the kaleidoscope with colored stickers. If you don't have a toddler, you should know that stickers are kind of a big deal in the land of toddlers. A seriously BIG deal.
The best part about it all - everything you need for each craft is in the box. No extra parts to buy. No searching around for markers to us. It's all included! If you need a gift for a toddler, just send them one of these Kiwi Crates. Bonus points if you sign them up for more than one box! Parents will love you forever.

Hours of fun were had and my sanity was restored. I even got these neat looking photos of the kaleidoscope images from my iPhone.
Who knew making this little craft would be so much fun for adults too?!

I was not paid or compensated in any way for this post, I just really like the product.

post signature

Thursday, October 10, 2013

Top Ten | What to do with Old Toothbrushes

The general rule for toothbrushes is that you should replace them every 3 months… at least that's the rule in my head. However, I am a bit of a hoarder penny pincher and I find it a little hard to toss my toothbrush when it's bristle are still intact. I see you judging me! 
Don't worry, I have now replaced my 6 month oldish toothbrush with this fancy new one. By fancy I mean, it cleans my teeth better with less effort and I am sure that tons of research and all sorts of new technology went into it… but I just know that it cleans my teeth well and I don't feel like I have just had an arm workout after scrubbing my chompers. Love my new toothbrush!

So, now what do I do with my old toothbrush? I have come up with a few simple ideas, so go get a new toothbrush and put these ideas to use with your old one:
  1. Exfoliate your lips.
  2. Repurpose as an eyebrow brush.
  3. Potato scrubber.
  4. Ring / jewelry cleaner.
  5. Scrub brush for your cheese grater.
  6. Scrub your shower drain or faucet or tile grout.
  7. Use to help remove tough stains on clothing.
  8. Remove scuff marks on shoes.
  9. Root touch-up brush for dyed hair.
  10. Use to clean the track of your sliding glass doors.
Just don't use one old toothbrush to do all of these things in this order. :)

This post was brought to you by Colgate #SlimSoft. All opinions are 100% my own.
post signature

Wednesday, August 21, 2013

Let's Wrap it Up

This weekend, I am cohosting a bridal shower for my husband's cousin. I can't share a lot with you just yet, but I will surely have plenty of pictures and details next week. What I can share with you is how I wrapped her gift. 
DIY Bridal Bouquet: Make the bouquet part of your gift wrapping, so you don't forget it
I'm not sure if this is just a southern thing or if bride's all over the country are doing this, but a bow bouquet is a must where I come from. It can be as simple as tying / taping all of the bows on bridal shower gifts together or you can get a little fancy by adding a paper plate. The bride will then use the bow bouquet (also known as a ribbon bouquet) as a substitute for the real thing when walking down the isle during rehearsal. 

Y'all didn't know I was the fancy type, did y'all? Normally, I would just bring a paper plate with me to the party, but 2 little munchkins have taken every brain cell I have and turned my memory to mush… I was afraid I would forget the paper plate and ruin the party! Okay, so the party would not have been ruined. 
DIY Bridal Bouquet: Make the bouquet part of your gift wrapping, so you don't forget it
Anywho. I thought I was being pretty nifty with the idea to make the paper plate apart of the bow on my gift. Not the prettiest thing in the world, but I won't forget the plate now + I won't forget to actually make the bow bouquet at the party with this little reminder sitting on my gift. 

There's my tip for the day. Anybody else have any last minute tips to pulling off a fantastic bridal shower? 

Linking up with Chits & Giggles and Little Bit of Class, Little Bit of Sass for Wedding Wednesday today. 
post signature

Wednesday, July 10, 2013

Toddler Photoshoot FAIL

Last week, I was taking a few shots for Winsley's weekly picture project and decided to turn it into a little Independence Day photoshoot. I just needed one good shot of my two girls in their red, white, and blue outfits. Sounds so simple, but getting 2 kiddos to smile and look into the camera at the same time can be quite challenging. This is the photo I ended up using for my 4th of July post:
Not bad. However, this is not the original photo. Normally, I would never photoshop my girls. They are perfect the way they are and photoshopping the fat rolls and chubby chins of children is just weird (in my opinion). This situation called for some photo trickery though after Ellington decided to act like a typical 2 year old - how dare she! Here is the original photo:
A certain little toddler looks a bit too evil for a post celebrating America, but this was the best of the bunch. What's a momma to do? I just photoshopped a face from a different photo on to this one. Professional photographers use this little trick all of the time for group photos.

I'm not a huge fan of changing out baby faces every time my toddler decides to act like a toddler during a photoshoot, so if anybody has any tips for photographing kids - I WOULD LOVE TO KNOW!! Seriously. It's getting harder to the 2 year old to stay still and focus on one task at a time.

Just to show you that this really was the best of the bunch, here are a few of the many outtakes from our Independence Day photoshoot:
Photoshoots with the two of them might be nonexistent for a while. Either until Ellington outgrows this phase to constantly move or until I learn how to use my camera, so I can snap the picture without getting a blurry toddler.

Any tips? Or do you think I'm crazy for thinking I can get a decent photo of both girls together? Or maybe you just think I'm crazy for photoshopping my kiddo- that's okay to.

Monday, June 24, 2013

Word Art Tutorial. . . sort of

Create Beautiful Word Art in 5 Easy Steps
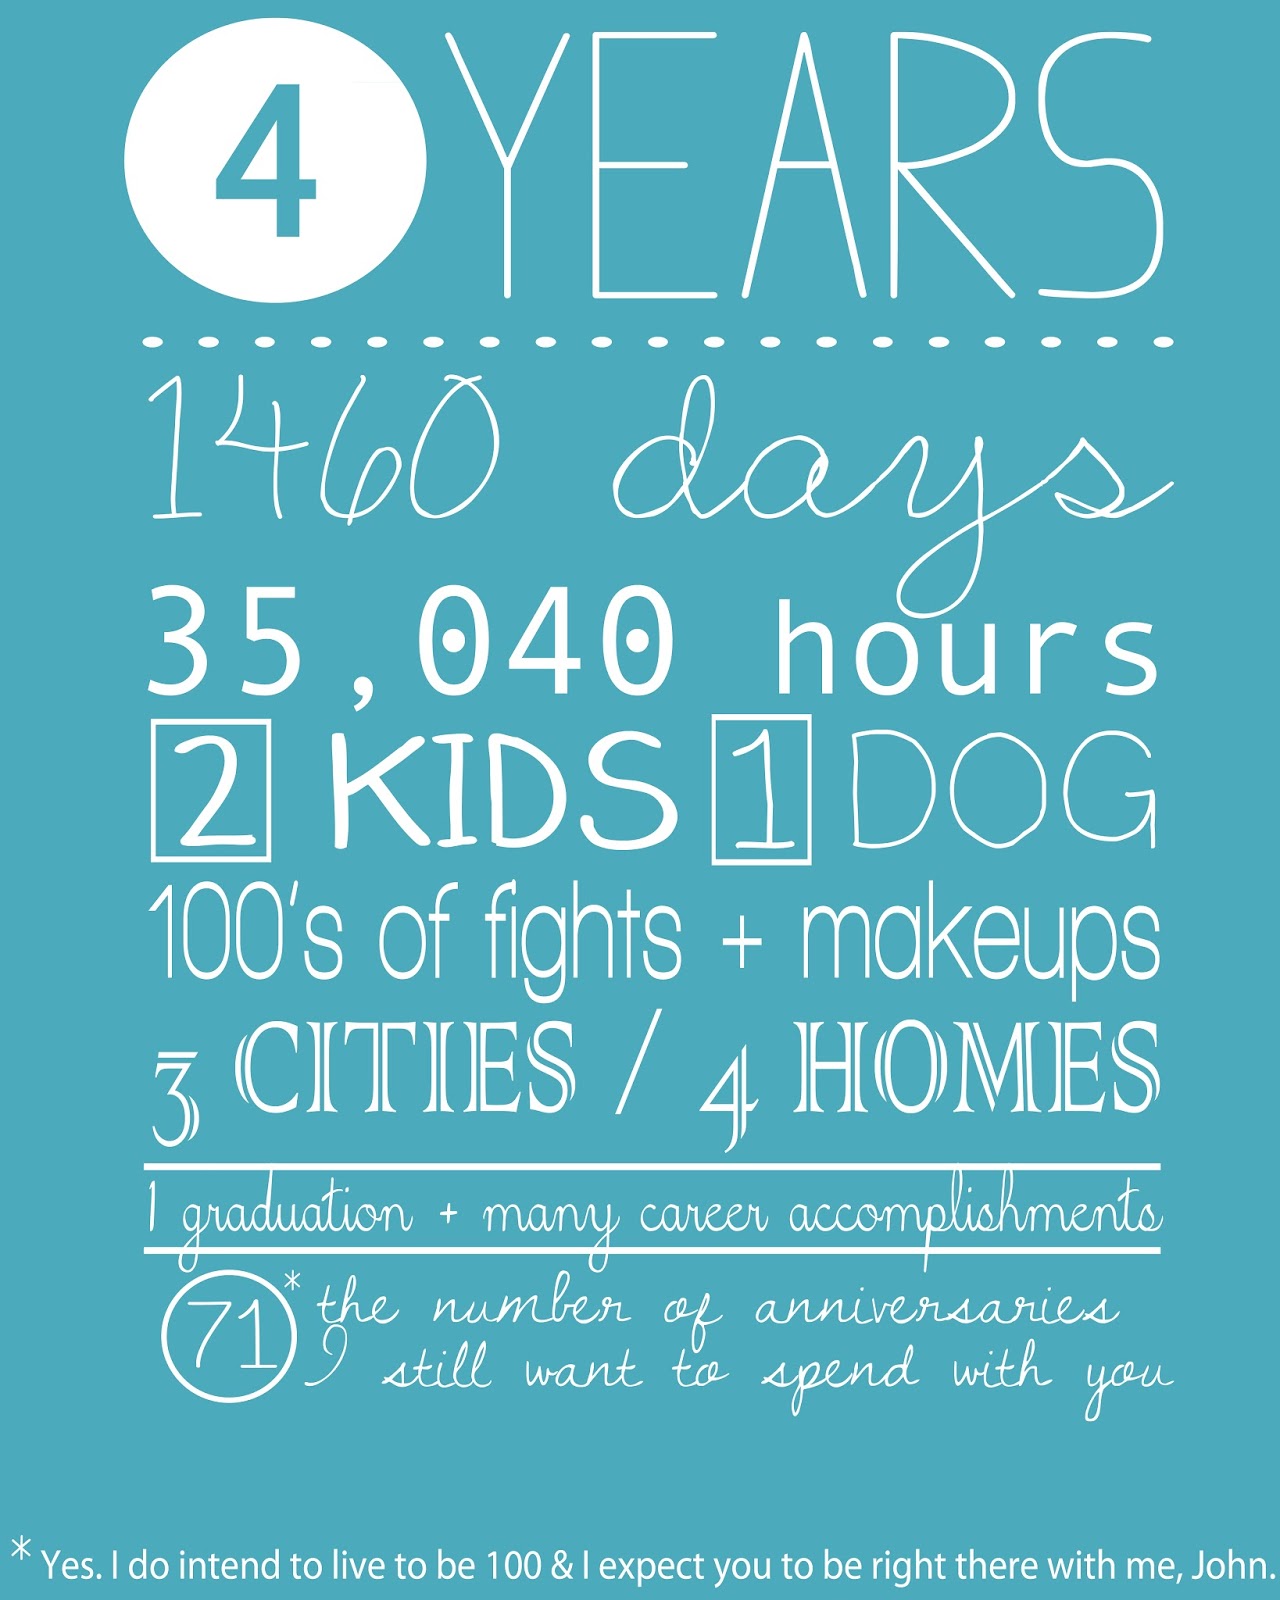
So, I started writing this post on Thursday night about how to recreate this word art that I made for our 4 year anniversary. My intention was to post a little tutorial on Friday morning. Seeing as it's Monday - you can guess how much I got done. I learned one thing: I stink at tutorials! Seriously. It seemed simple enough. Just put some numbers on the page and fill it up with steps. Not so simple after all.

Instead, I'm just going to list the fonts I used and provided a few things that I do during my word art process. If you have any questions or struggles you need me to help with, please don't hesitate to contact me (you'll get the quickest response with twitter -@KimchiSweetTea, but I'll get back to you eventually by email - Quinn@KimchiSweetTea.com).

1. Start with just the words. I usually simply put the words I want to use on the blank page. No fancy fonts. No colors. Just words on a page.
2. Then, I like to play with fonts and sizes until I like what I see. It's a learning process and sometimes you don't find quite what you are looking for (that's when it's time to hit the web for a little inspiration). Once you know what you like and which fonts pair well with each other, it is super simple and fast.
3. After you are satisfied with the fonts, add any other graphics you would like.
4. You're almost done. . . all you have to do is add color. I usually play around for a while with colors and change my mind a hundred times before I get it right, but this doesn't have to tai a lot of time if you are decisive. That's just not one of my strengths.

5. Save as a jpeg. and print it out or upload it to your blog.

The lines / circle / and rectangles were created using the photoshop feature - Custom Shape Tool. Clicking on the font names that follow will lead you to different websites where you can download most of the fonts. For FREE :)


I hope this tutorial was somewhat helpful for those of you who would like to create their own word art. As always, feel free to comment / email / tweet if you have any questions. I would be happy to help walk you through your first word art project.

Happy Printing.


Related Posts Plugin for WordPress, Blogger...