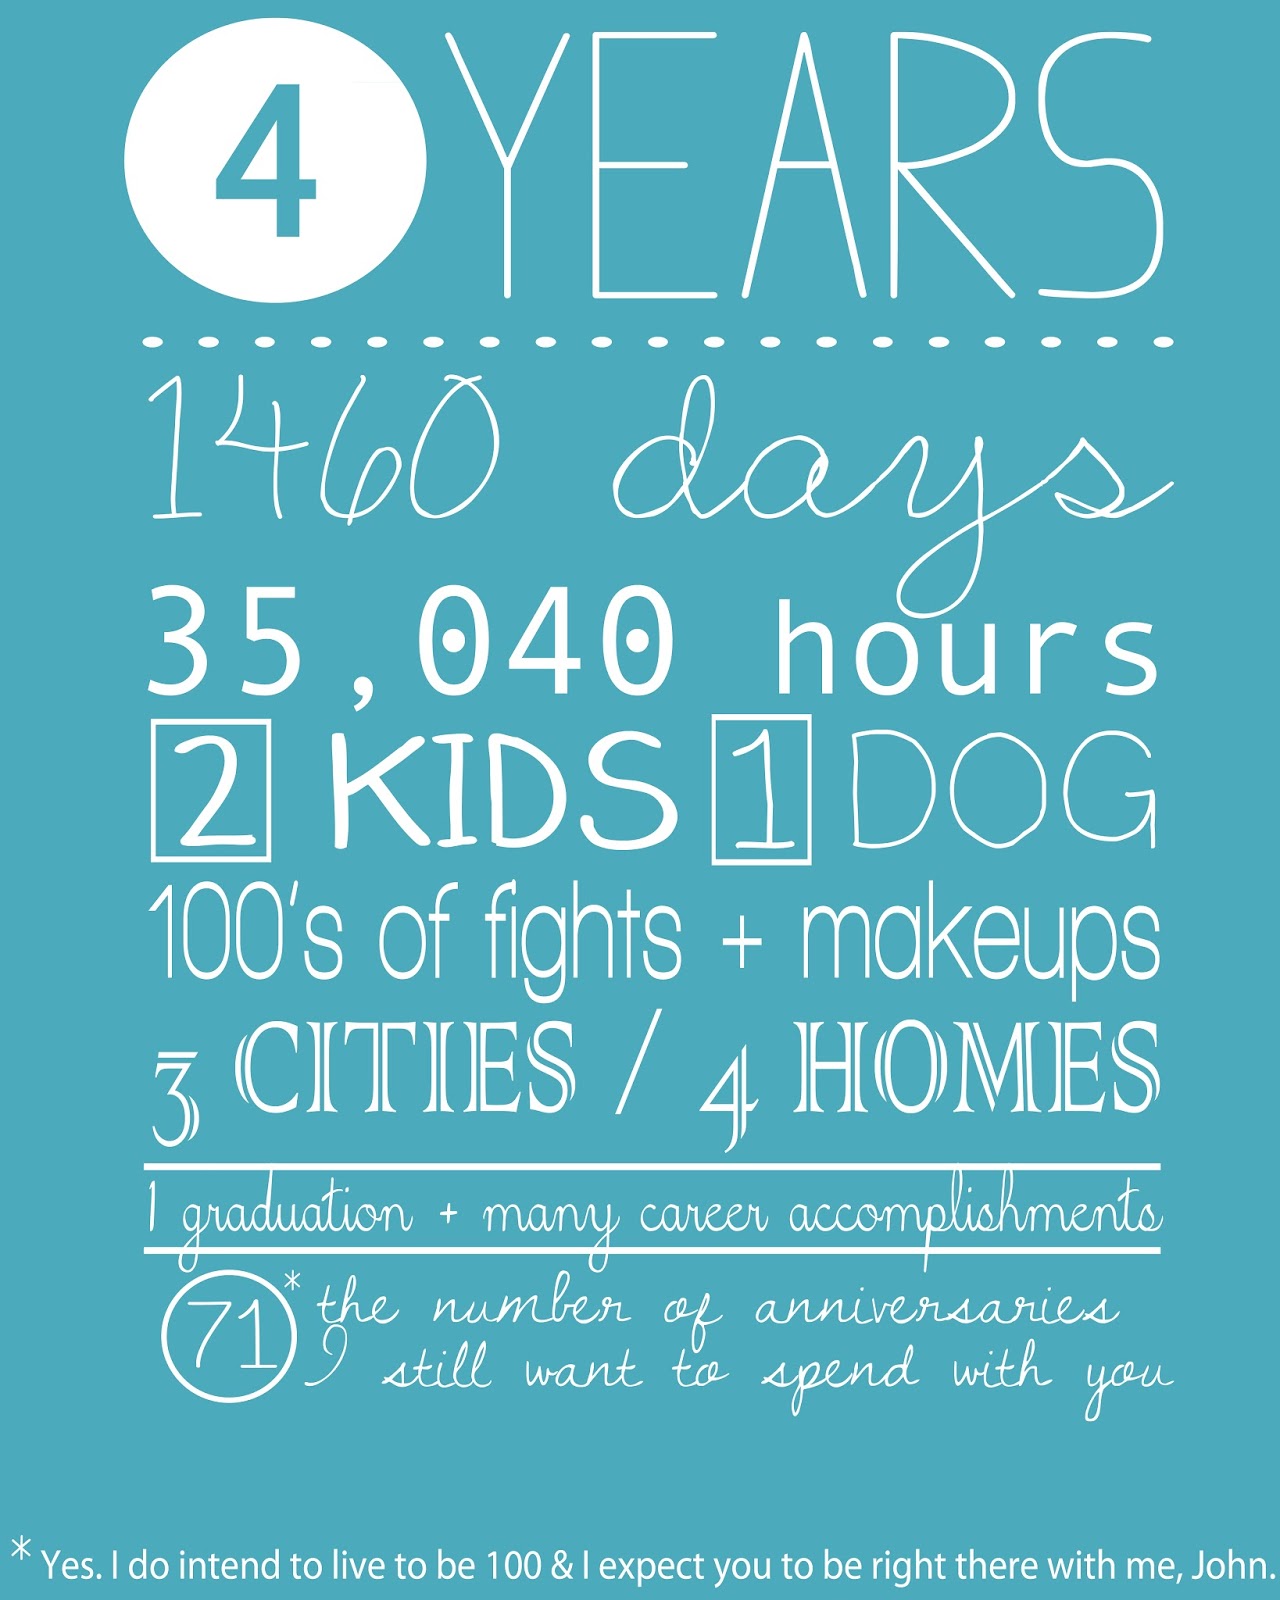
So, I started writing this post on Thursday night about how to recreate
this word art that I made for our 4 year anniversary. My intention was to post a little tutorial on Friday morning. Seeing as it's Monday - you can guess how much I got done. I learned one thing:
I stink at tutorials! Seriously. It seemed simple enough. Just put some numbers on the page and fill it up with steps. Not so simple after all.
Instead, I'm just going to list the fonts I used and provided a few things that I do during my word art process. If you have any questions or struggles you need me to help with, please don't hesitate to contact me (you'll get the quickest response with
twitter -@KimchiSweetTea, but I'll get back to you eventually by email - Quinn@KimchiSweetTea.com).
1. Start with just the words. I usually simply put the words I want to use on the blank page. No fancy fonts. No colors. Just words on a page.
2. Then, I like to play with fonts and sizes until I like what I see. It's a learning process and sometimes you don't find quite what you are looking for (that's when it's time to hit the web for a little inspiration). Once you know what you like and which fonts pair well with each other, it is super simple and fast.
3. After you are satisfied with the fonts, add any other graphics you would like.
4. You're almost done. . . all you have to do is add color. I usually play around for a while with colors and change my mind a hundred times before I get it right, but this doesn't have to tai a lot of time if you are decisive. That's just not one of my strengths.
5. Save as a jpeg. and print it out or upload it to your blog.
The lines / circle / and rectangles were created using the photoshop feature - Custom Shape Tool. Clicking on the font names that follow will lead you to different websites where you can download most of the fonts. For FREE :)
I hope this tutorial was somewhat helpful for those of you who would like to create their own word art. As always, feel free to comment / email / tweet if you have any questions. I would be happy to help walk you through your first word art project.
Happy Printing.


Super helpful tutorial! Thanks for posting this! My blog is somewhat new and I have just recently explored the world of designing my blog and making it more of a reflection of who I am. This is definitely something to do to add to the personality of my blog. Btw, where these fonts just in Microsoft word or did you have to download them? :)
ReplyDeleteI had to download most of them. www.fontsquirrel.com and http://www.dafont.com are my favorite places to search for new fonts. If you have any questions, please don't hesitate to send me a message :) Good Luck
ReplyDeleteMe too! Pinterest and I have a love hate relationship because of my font obsession. In 10 minutes on Pinterest, I can find and download 50 new fonts :-/
ReplyDelete