Soooo Big! That never gets old when you're around little ones. :)
Well, as you see, I have finally completed one of my many DIY projects that I have
pinned on Pinterest. It may have taken three nights of work spread out of two weeks, but it's done. That's life with a
very active toddler for ya... I never seem to be able to complete anything on time. Although, now that Ellington is sleeping consistently in her crib for 12 hours a night and taking one long nap a during the day, I am determined to get stuff done! (sigh) Of course, now that I have
said typed it out loud, she will wake up 8 times tonight and stop taking naps...
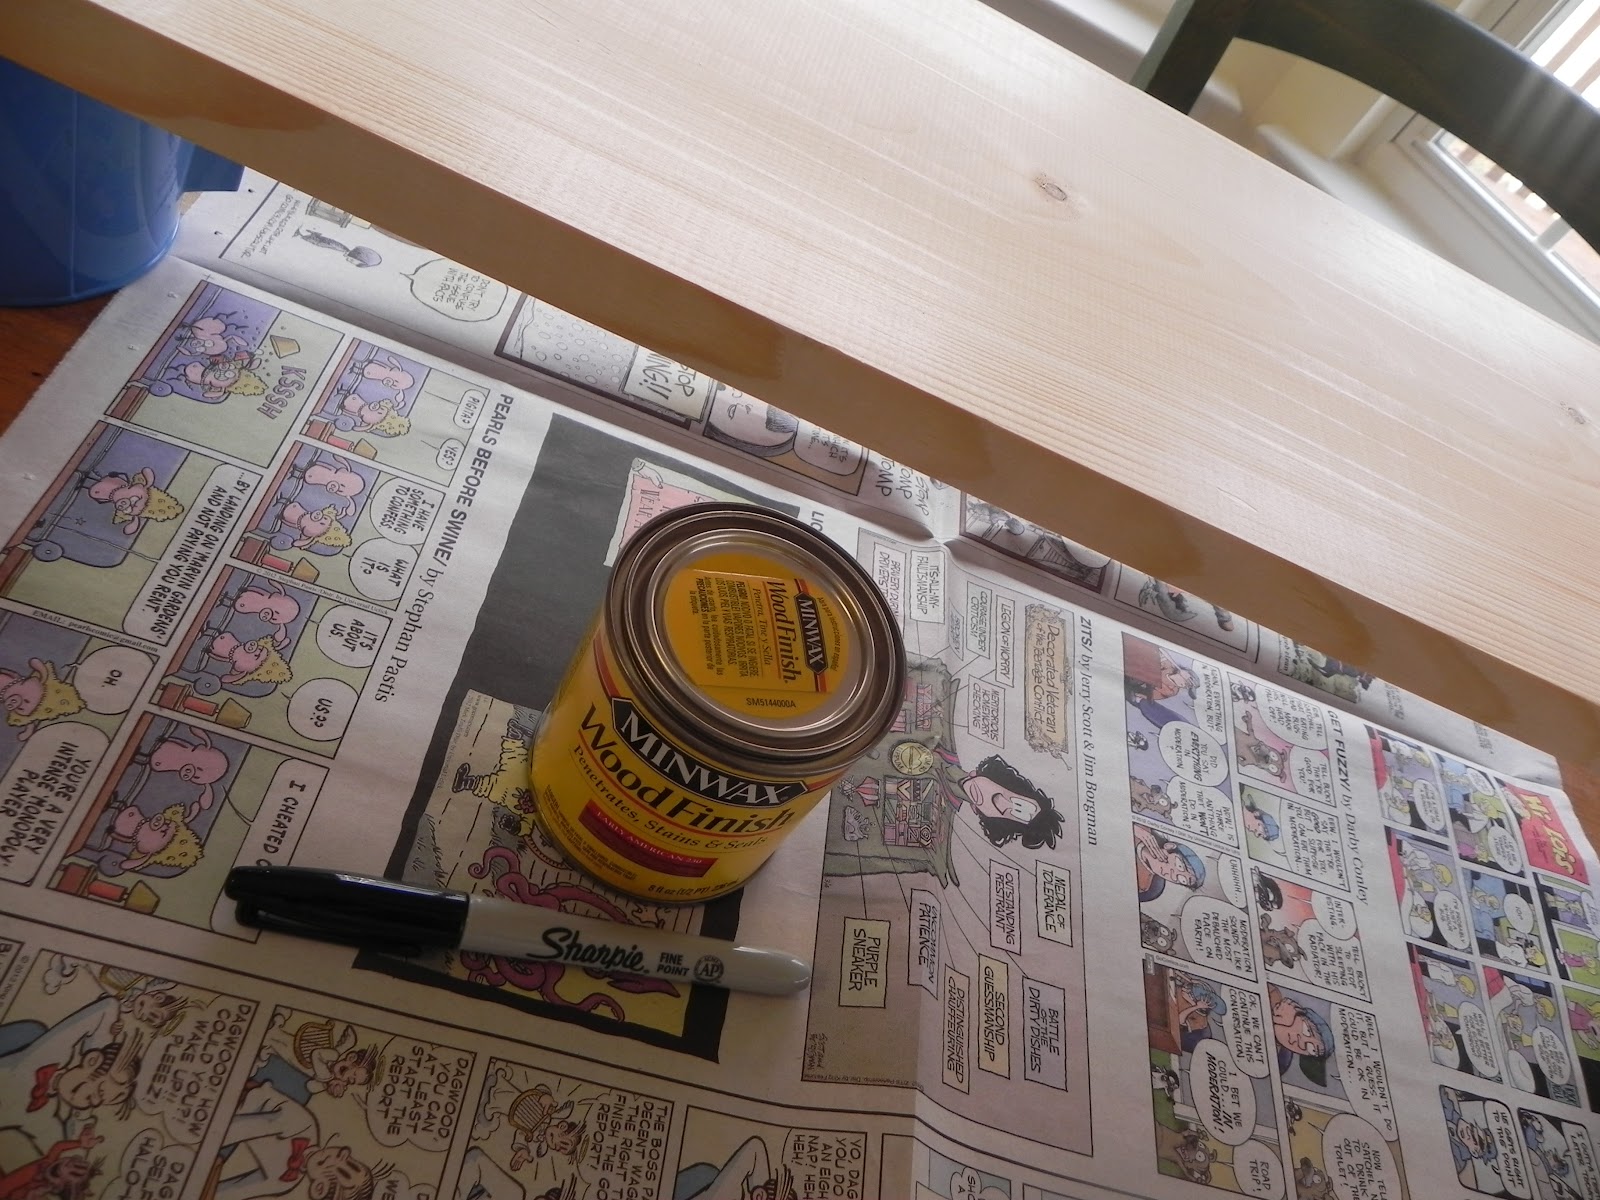
Let's get back to my fabulous new 'Ruler Growth Chart'. :) First, you need to drive over to the hardware store to pick up a few supplies:
*a 1x8x6 board (cost me around $7)
*stain of your choice (I chose color
Early American for around $3)
*sharpie - already owned
*Pen or Pencil - already owned
*level - already owned
*ruler - already owned
And that's it. I used a sharpie because a) I already had it and b) I am a bit too inpatient to wait for paint to dry. Just follow the simple steps below and you'll have yourself your own 'Ruler Growth Chart' for just around $10! That's an amazing price considering similar growth charts are selling for much much more (
amazon $85,
etsy $70,
pottery barn $59).
Step One. Wipe stain on board and let dry.
Step Two. Using your ruler, make a mark every inch along the entire length of your board. Then, using a level / ruler or just eyeballing it, draw each line of the 'ruler' at each mark on your board. Two 1 inch lines followed by a 2 inch line... and repeat. Make sense?
Step Three. Choose a font and print out numbers 1-6 in 200 point font size. I forgot to note which font I used, but you can easily find a great one that fits your style or freehand the numbers.
Step Four. Trace each number beside the appropriate 2" line on your board. I simply used a little weight and a pen to trace each number. The wood was soft enough that it left an indent on the wood after tracing. Then, color in each number. (If you don't want indents on your finished ruler, then you can follow
these instructions that I found on Pinterest.)
*Note: I started at 6", so I could hang it up off of the floor.*
And your done! Now I have a bit of a predicament... where do I record Ellington's height (left side or right side)? And do I use pencil / pen / marker, black / blue / bright colors? For now, I am just marking her height with pencil until I decide what I want to do permanently.
Just a little last minute note: If you want to see a fun Easter picture of me as a little girl, go check out my cousins blog (Everyday Champagne). Love Easter memories! Now I get to share the traditions of Easter with Ellington. :)


I'm pinning this! This is adorable and so cute I can't even stand it. And I don't know what the best idea is for height recording...I would probably think a black sharpie in pretty lettering on the right side would be cool. Congrats on your awesome DYI project!
ReplyDeleteThanks! It was so easy too! Really, if I had been less lazy, I could have gotten it done in like an hour or less.
ReplyDeleteI wonder if she will make it past the 5? Ha, doubtful in this family.....but maybe :)
ReplyDelete